Introduction
Masonry Layout Galleries look very elegant, and also help save space on your site! In this tutorial, we’re going to show you how to add the Divi Masonry Gallery module to your website, as well as give you an overview of the options and settings. Then, we’ll show you how to create a Masonry Gallery in a step-by-step tutorial.
Step 1: Add a new module
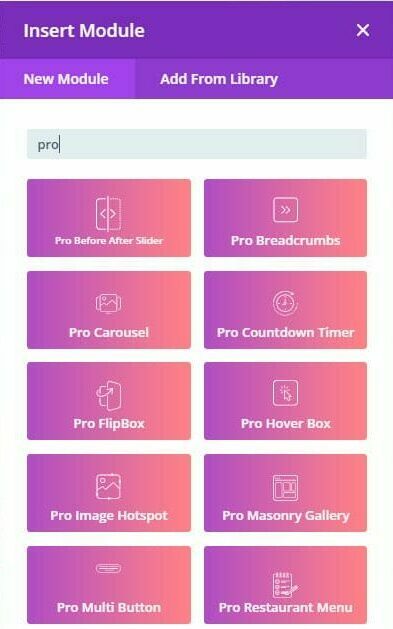
1. Enable Divi Builder and add a new Module > Search for “Pro Masonry Gallery”.
Pro Masonry Gallery Module – Content tab
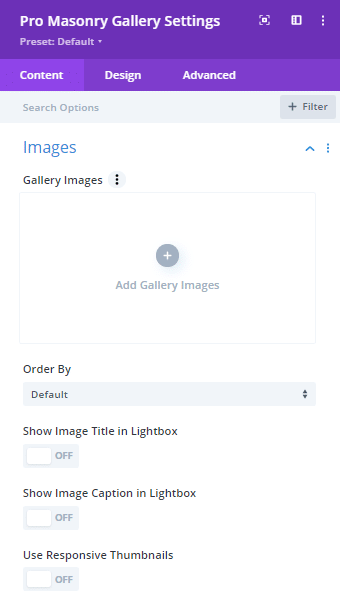
1. Click on the “+” icon to add images to the gallery
2. Order By: order the images as you selected or random
3. Show Image title in lightbox: Show the title of the image when open the image in the lightbox.
4. Show Image caption in lightbox: Show the caption of the image when open the image in the lightbox.
5. Use responsive thumbnails: change the size of the thumbnails per device.
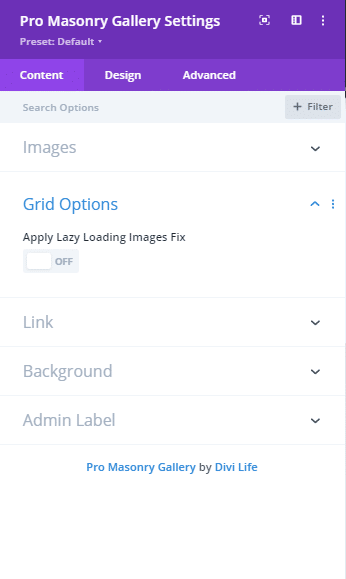
Enabling “Apply Lazy Load Images Fix” will disable Lazy Load on the gallery thumbnails.
Pro Masonry Gallery Module – Design tab
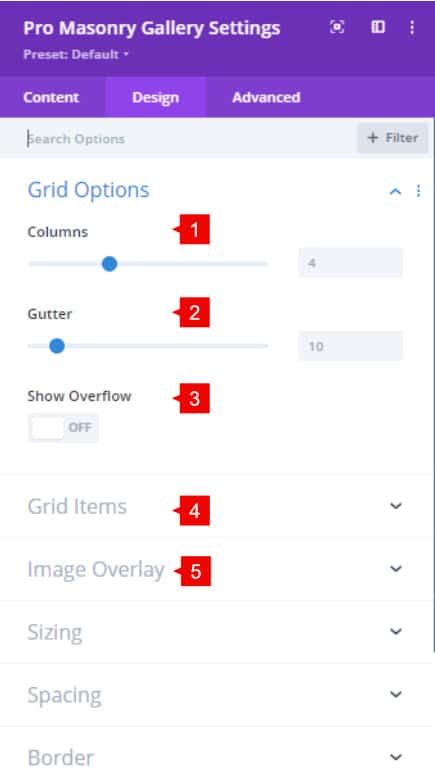
1. Columns: Define how many columns to show in the gallery.
2. Gutter: Change the space between each image.
3. Show Overflow: Enable overflow for the gallery.
4. Grid Items: Style the images of the gallery, as borders, border-radius, shadow box
5. Image Overlay: Enable the overlay with icon and mask color.
Step 2: Use Case Tutorial
Now that we’ve given you an overview of the module and what it can do, let’s create a specific example.
1. Add a new Pro Masonry module and add the images to the gallery. You can choose any size of the image.
- Order: Random.

2. Set up the grid options
- Columns: 4
- Gutter: 20
- Show overflow: OFF

3. Style the Grid Items
- Add rounded borders: 40px
- Image border: 1px
- Border color: rgba(46,51,71,0.2)

Save changes. This is the final result