Introduction
The Divi Countdown Timer Module within Divi Modules Pro adds much more advanced settings and options than Divi’s built in countdown timer. This is why we refer to it as the “Pro” Countdown Timer! In this tutorial we’ll give you an overview of everything the module can do, and how to customize it. Then, we’ll show you a “Use Case Tutorial” on how to achieve an example countdown timer.
Step 1: Add a new module
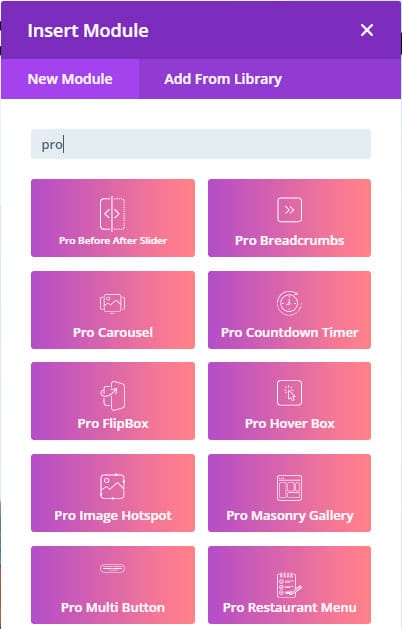
1. Enable Divi Builder and add a new Module > Search for “Pro Countdown Timer”.
Pro Countdown Timer Module – Content tab
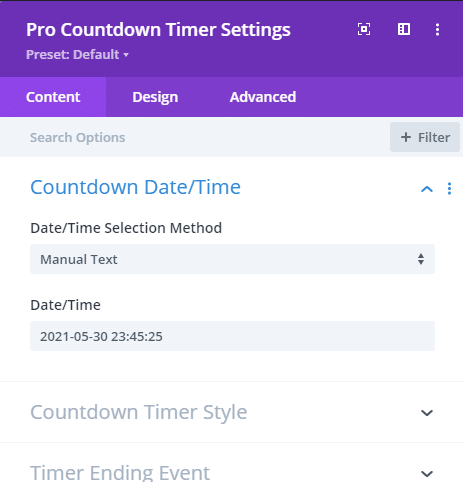
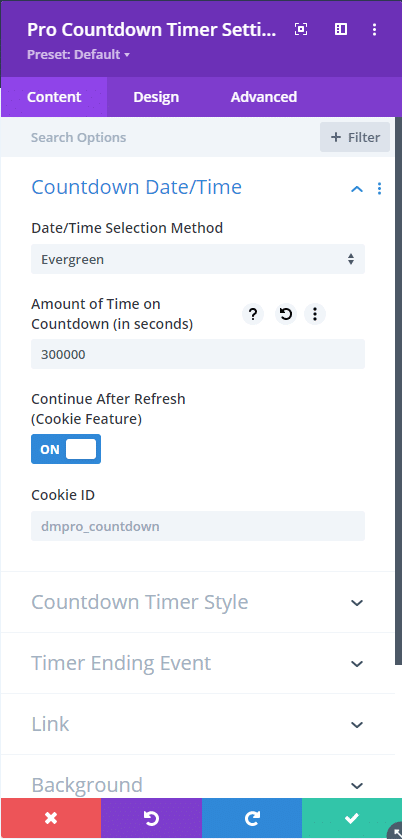
1. Countdown Date/Time: Select a date/time method.
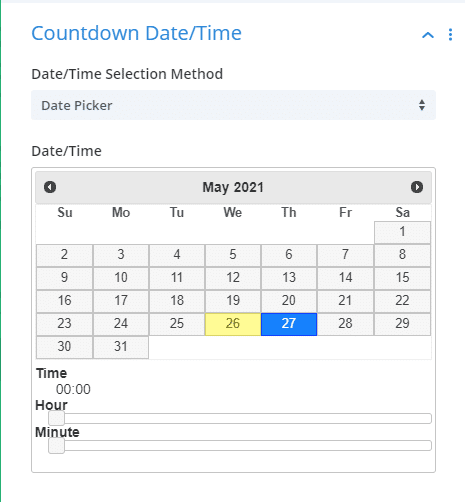
Date Picker: select a date and time
Manual Text: write the date you want to set the countdown timer. You can also use dynamic content by just clicking the dynamic content icon ![]()
Evergreen: This awesome feature will allow you to always count the timer down the same amount, rather than counting down to a specific date/time. For example, with an evergreen timer you can set it to always count down 15 minutes, opposed to counting down to July 4th at 7pm of this year like the date picker method. And you can actually make the timer user-specific too, by enabling the cookie ID feature. So if the user leaves the page and comes back to it, the countdown will continue instead of starting over.

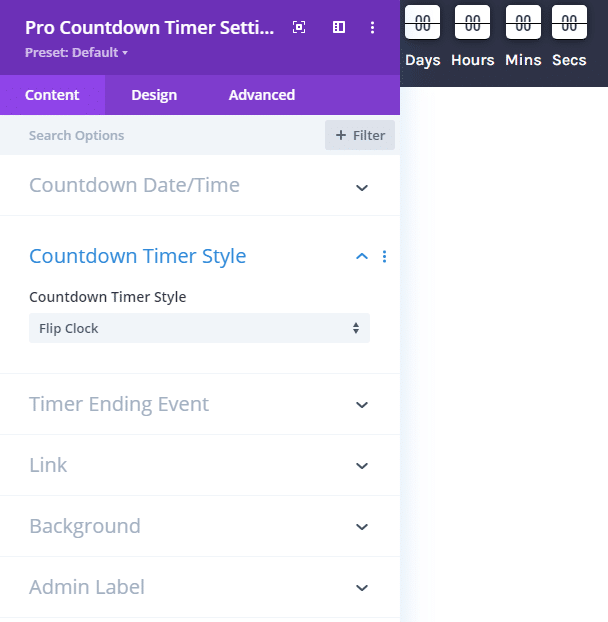
2. Countdown Timer style: Here you can select a style for your Countdown.
FlipClock:
BlockClock:

Custom Format: Adjust the semantic of the countdown. Here is how to do it:
Documentation – jQuery.countdown (hilios.github.io)
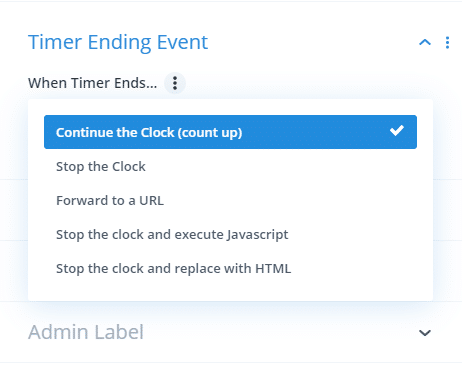
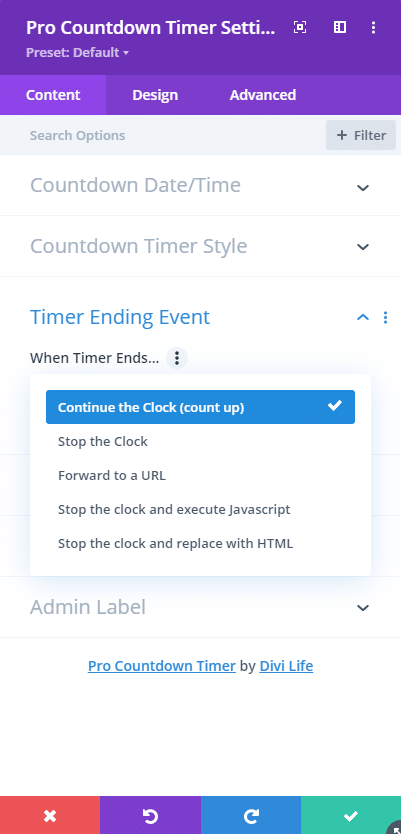
3. Timer Ending Event: Select what you want to happen when the countdown reaches zero.
Continue the Clock: after reaching zero it starting counting up.
Stop the Clock: the timer simply stops on 0 and does nothing else.
Forward to a URL: open a specific URL after the timer ends (such as a “the sale is over” page for example).
Stop the clock and execute JS: add a custom JS that will be executed after the timer ends (advanced users only).
Stop the clock and replace with HTML: after the timer ends, you can add a custom HTML code that will be shown.
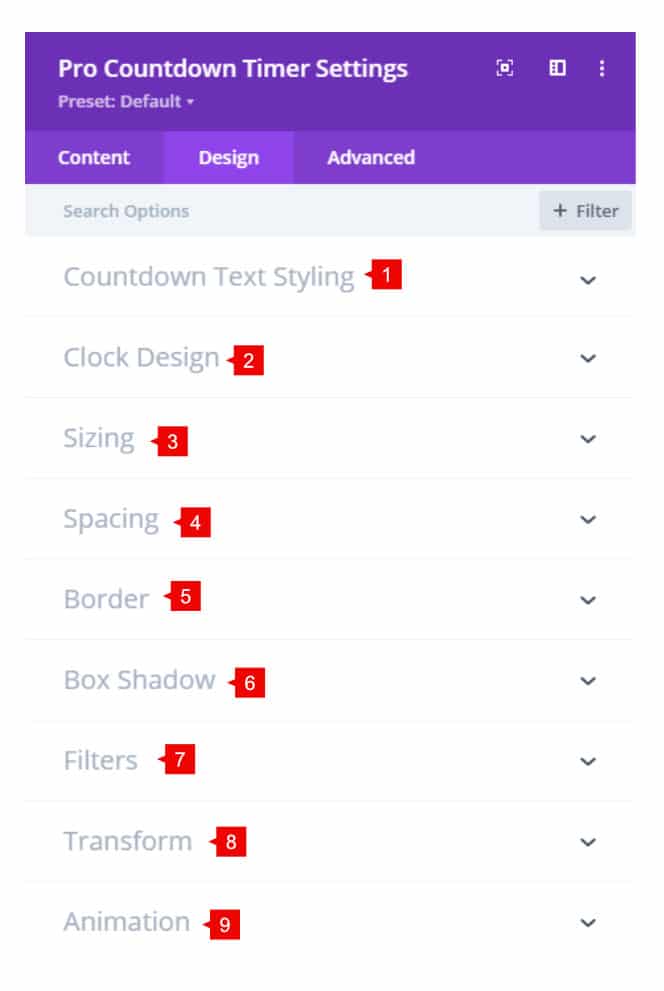
Pro Countdown Timer Module – Design tab
1. Countdown Text Style: Style the text of the countdown timer.
2. Clock Design: Style the background, color and size of the countdown.
3. Sizing: change the width and height of the module.
4. Spacing: change the margin and padding values.
5. Border: Add borders to the module
6. Box Shadow: Add a shadow to the module, not each button. To add a shadow to each button, you need to go to the button settings > design tab > box shadow,
7. Filters: Add filters to the module.
8. Transform: Use the transform options.
9. Animation: Add animation to the module.
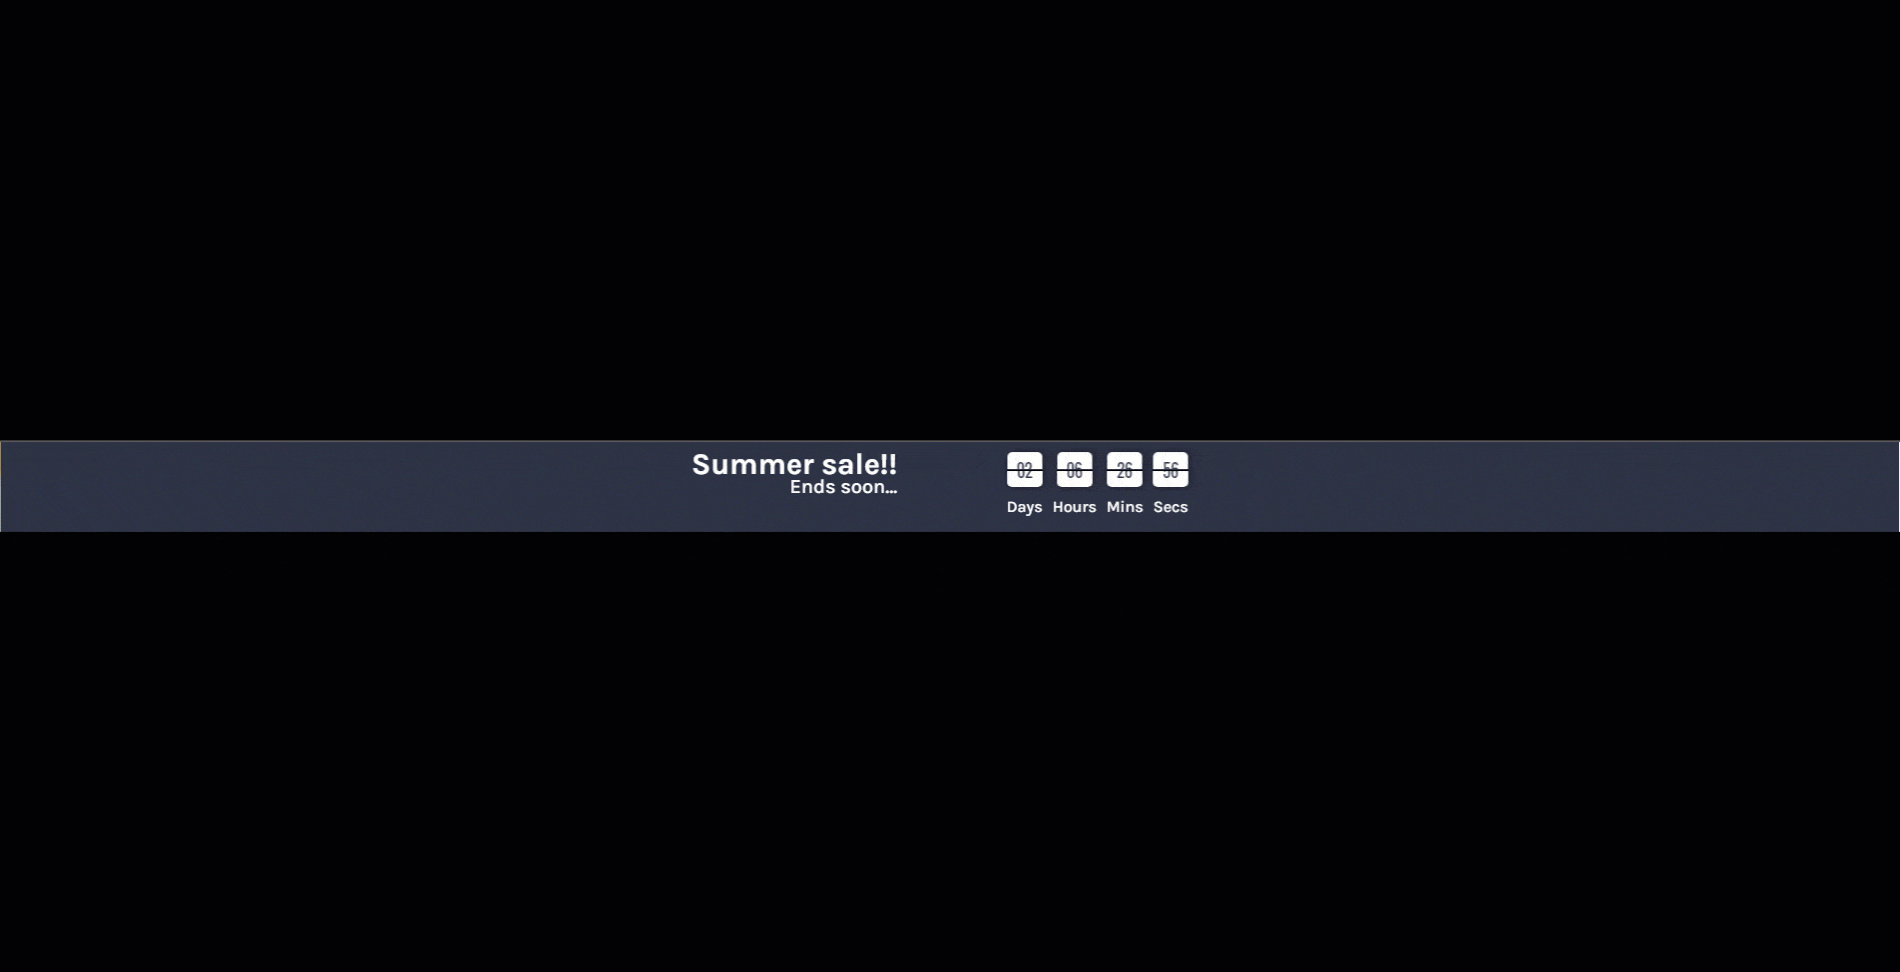
Step 2: Use Case Tutorial
Now that we’ve given you an overview of the module and what it can do, let’s create a specific example.
For this tutorial, we will create an evergreen countdown in the theme builder with a cookie function to keep the counter.
1. Set the Selection Method to “Evergreen” and enter the amount of time (in seconds) when you want to finish the countdown
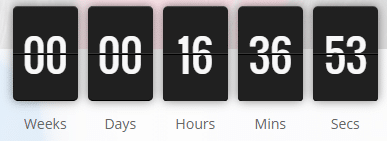
2. Select a style for the countdown. In this tutorial, we are using the Flip Clock to add a nice effect
3. Then add a task to do when the countdown finishes. In this tutorial, we select Continue the Clock
4. Now style the countdown
- The clock text style:
- Color: #2e3347
- Text size: 15px
- Labels: Here you can change the text of the labels and style it
- Color: #FFFFFF
- Clock Design:
- Labels position: Below
- Show Weeks: Off
- Face color: #FFFFFF
- Face Width: 35px
- Face Height: 35px
- Face Margin: 0px 0px 5px 5px
- **Important: The font size should be half of the height.
Save changes. This is the final result