
Introduction
A Before/After slider is a great way to show progress between two things, such as the before and after images of a website redesign. In this tutorial, we will show you how to add the Divi Before and After Slider module to your page as well as give you an overview of the settings and options. Then, you can visit the second section of this article for a step-by-step use-case tutorial.
Step 1: Add a new module
1. Enable Divi Builder and add a new Module > Search for “Pro Before/After Slider”.

Pro Before/After – Content tab
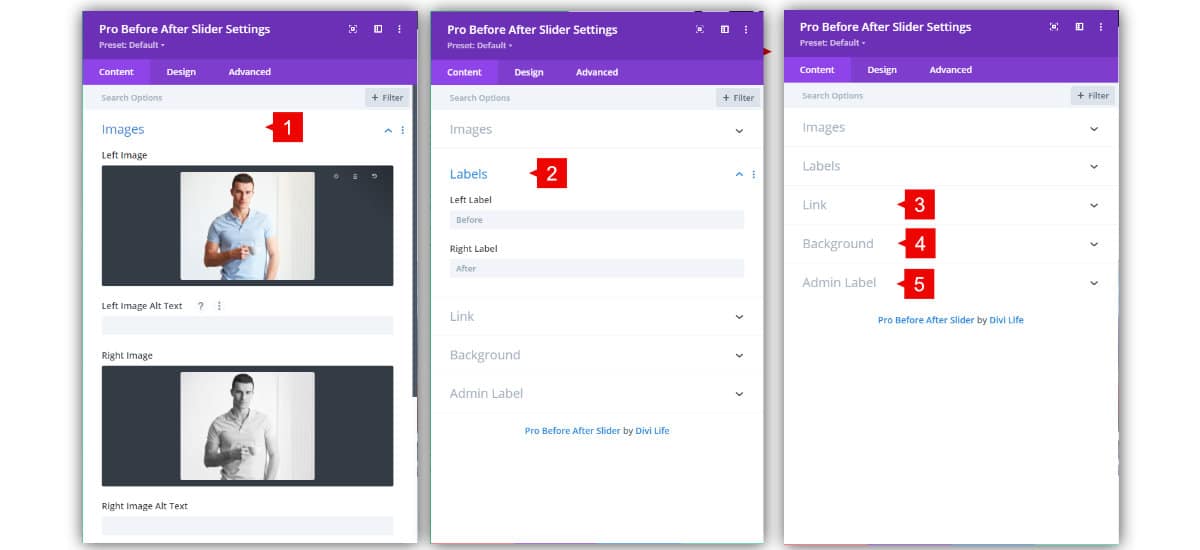
1. Images: Here you can add the Before and After images.
2. Labels: Here you can change the text of the labels. By default, is “Before” and “After”.
3. Link: Here you can add your custom link if you want to open an URL. By default is empty.
4. Background: Add a background to your module. This uses the Divi background settings.
5. Admin Label: Add a custom label to this module if you want to name it.
Pro Before/After – Design tab
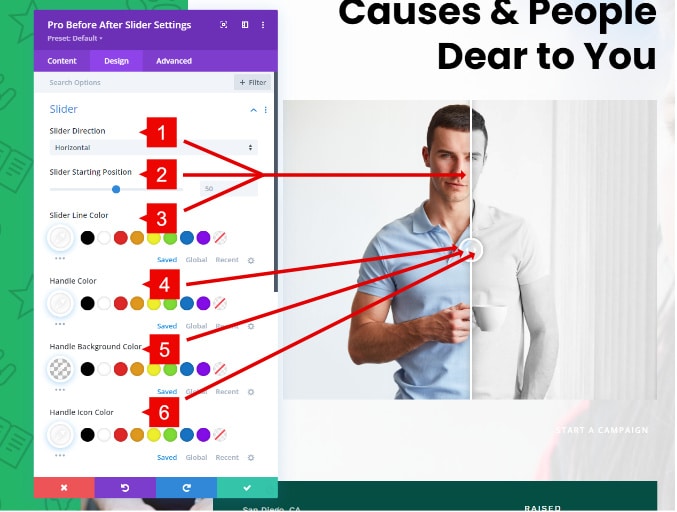
1. Slider Direction: Change the orientation of the slider. By default is Horizontal, but it can be changed by Vertical.
2. Slider Starting Position: Here you can set the starting position from 0 to 100. By default is 50, the half.
3. Slider Line Color: Change the color of the line that divides the slider.
4. Handle Color: Change the border color of the handle
5. Handle Background Color: Change the background color of the handle.
6. Handle Icon Color: Change the color of the “arrows” that are within the handle.
Step 2: Use Case Tutorial
Now that we have the basics covered, let’s show you how to create something awesome!
Here’s what we’ll be creating:

Let’s get started!
1. Add the Before (Left) and After (Right) images

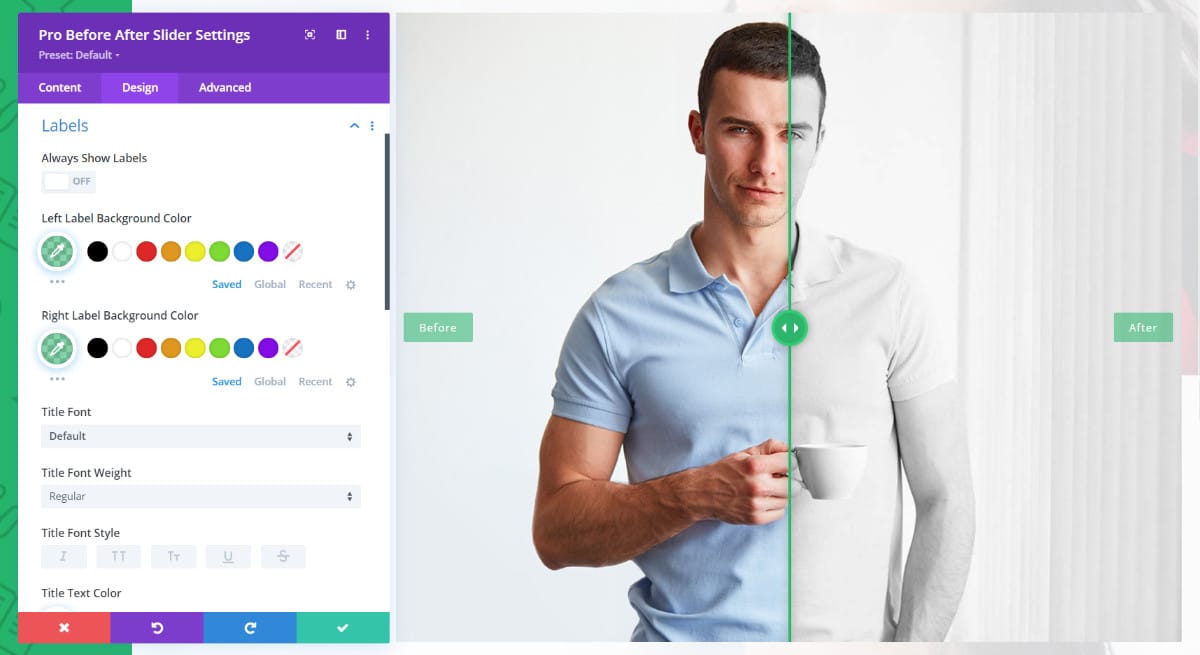
2. Style the handle and labels to match with your site colors.
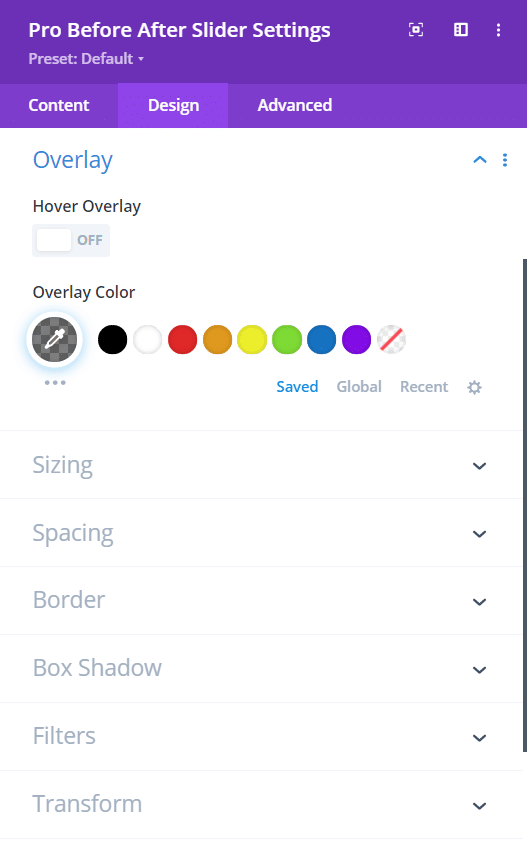
3. Disable the overlay or give a color to the overlay.
Save changes and see the final result